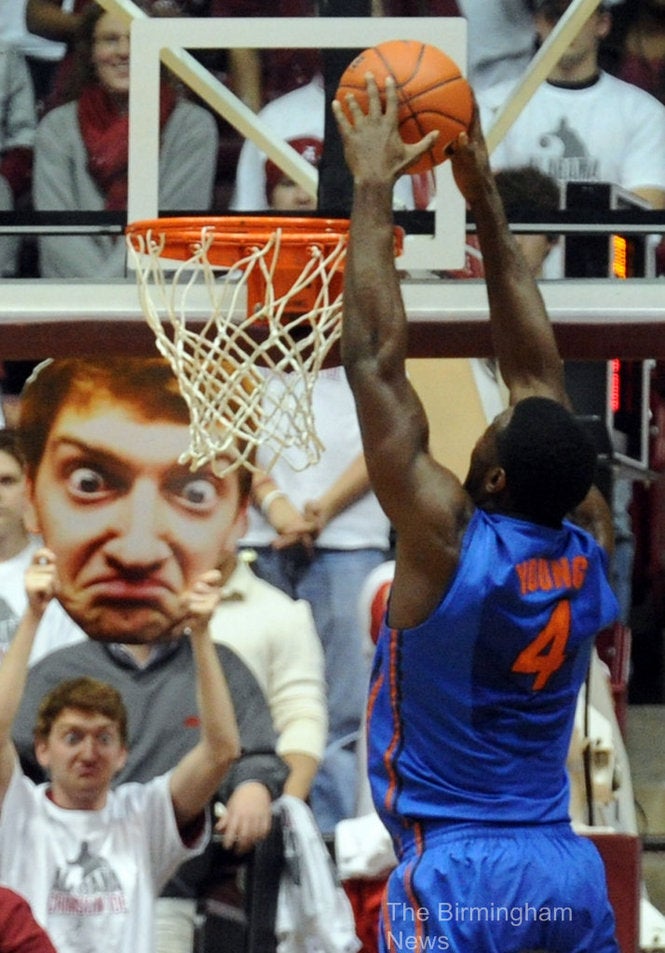
One of the favorite props on our wedding night was our giant faces. Everyone loved them!
 |
| Chris Kim Photography |
Ben wanted a big poster of us and I wanted the funny face
like that one guy who brings his own face to basketball games.
I always thought it was hilarious.
It's not TOO hard to pull off.
like that one guy who brings his own face to basketball games.
I always thought it was hilarious.
It's not TOO hard to pull off.
- First, use a really good camera and set it to your highest resolution. The best option is to put it on a tripod so that you can take clear images. Use either a 2nd person to take the pictures or the timer. A 2nd person would be best because you can just stand there and make multiple faces without moving. That will make things easier later when you're choosing your photos/expressions.
- If you want to do it the easy way, you can glue one facial expression per poster board. Just follow steps 4-6 from here.
- If you want to do it the tricky way... You can put a 2nd facial expression on the other side of the poster board. That way, you can carry one poster board and flip over to display the expression you want. In order to do this, you have to make sure that you size both faces the same and that the reflection is the same shape.
These are the two sides I choose for Ben's face

On side 1, I outlined his face in Photoshop

I reflected the outline and place it over Face 2 to make sure it was the same shape
Make sure that each face is the same size! You may need to photoshop the face a little to fill up the space. It's okay if the space outside the outline goes past (see how Ben's hair goes past the outline? That's perfect!). You just want to make sure that when you cut out the face, you don't have white space (inside the outline).
- I printed the posters at Walmart for super cheap (do not print the red face outline, that was just a reference to show you). The size will depend on how large you want the face and the size of your poster foamboard. I went with a 20" x 30" poster for each face.
- Use an adhesive spray and slap on the first poster. (TIP 1: Use LOTS of adhesive. My faces started to peel off by the end of the wedding night... and TIP 2: adhesive spray gets EVERYWHERE. If you don't want sticky floors, line the surrounding area with newspaper or spray it outside on the grass.)
- Cut out the first face from the poster board using a blade. I just bought this FoamWerks Freestyle Cutter and thought it worked really well. Go slow so that you don't slip and cut off more than you want. You don't need to press down or anything either. I found that it moves rather easily if you just guide it and I chipped the bottom of the blade because I was putting too much strength into it. ALWAYS CUT WITH AN EXTRA FOAM BOARD UNDER YOUR PIECE. You don't want to be cutting up your floor or table!
- When you have your first face cut out, just line the cutout against Poster 2 and try to align it. You may have to hold it up so that you can see through the poster and guess where the face is. Trace out the shape on the poster and you can cut it out with regular scissors. Then just use adhesive spray again and line it up!


No comments:
Post a Comment